
Character Design Fundamentals
From concept sketches to final models. We cover silhouettes, proportions, and the tools that bring characters to life.
Learn the core concepts behind Unity and Unreal. We break down the interface and show you how to import your first asset.

If you’re just stepping into game development, the first thing you’ll notice is how intimidating a game engine can look. There’s an interface packed with buttons, panels, and terminology that’ll make your head spin. But here’s the thing — most of those tools aren’t for beginners. You’ll focus on the core 20% that does 80% of the work.
We’re going to walk you through Unity and Unreal’s basics. By the end, you’ll understand what a scene is, why hierarchies matter, and how to actually get your first 3D object into the editor without breaking anything.
You’ve probably heard of Unity and Unreal. They’re not the only engines out there, but they’re the ones that’ll get you hired and the ones most tutorials cover. Godot’s gaining traction too, especially for 2D work. But let’s focus on the big two.
Unity dominates the mobile and indie space. It’s lighter on your computer, easier to learn, and there’s more beginner content available. Unreal is the powerhouse — it’s what studios use for AAA games, but it’s overkill for learning fundamentals. It’ll teach you good habits though.
Quick reality check: You don’t need to choose right now. Download both. Spend a week in each. The fundamentals translate directly between them.
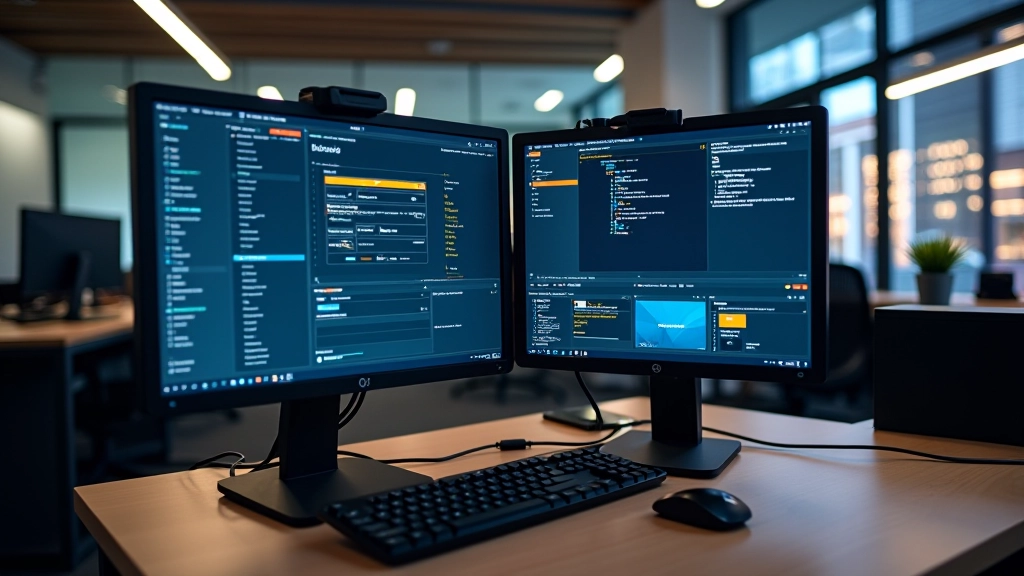

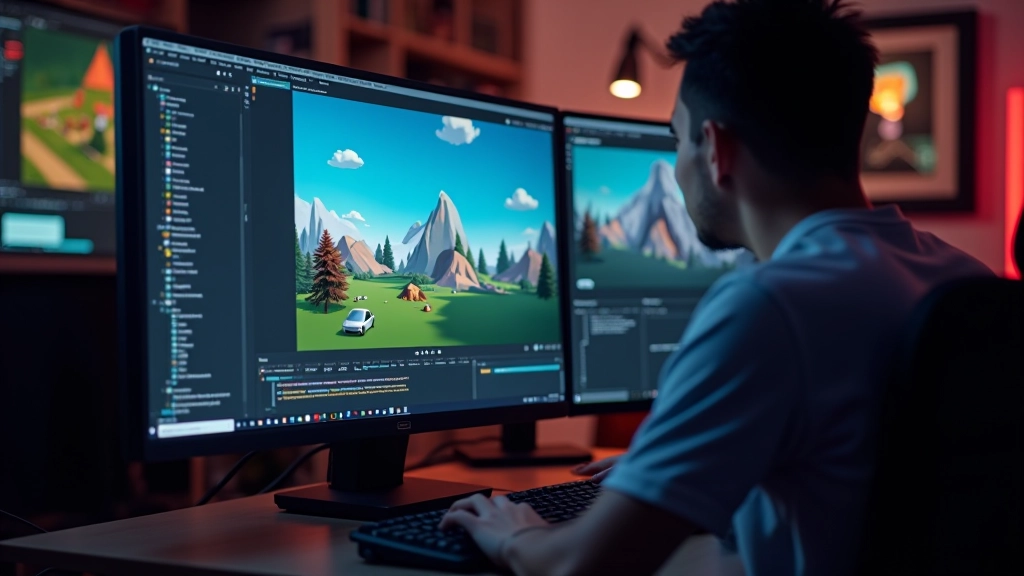
When you first open an engine, you’ll see the viewport in the middle — that’s where your game world lives. On the left is usually a hierarchy panel showing all your objects. On the right is the inspector, where you modify properties. Don’t memorize this layout yet. You’ll naturally learn what you use.
The most important thing to understand is scenes. A scene is basically a level or a screen. Your main menu is one scene. Level 1 is another scene. Each scene contains objects — a cube, a camera, a light. These objects have components attached to them. A cube has a mesh renderer (so you see it) and a collider (so it blocks things). Components are everything in modern engines.
Here’s what you’ll do first: Create a new scene. Add a cube. Add a light so you can see the cube. Add a camera if there isn’t one already. Hit play. You’ve now created your first interactive environment. It’s that simple to start.
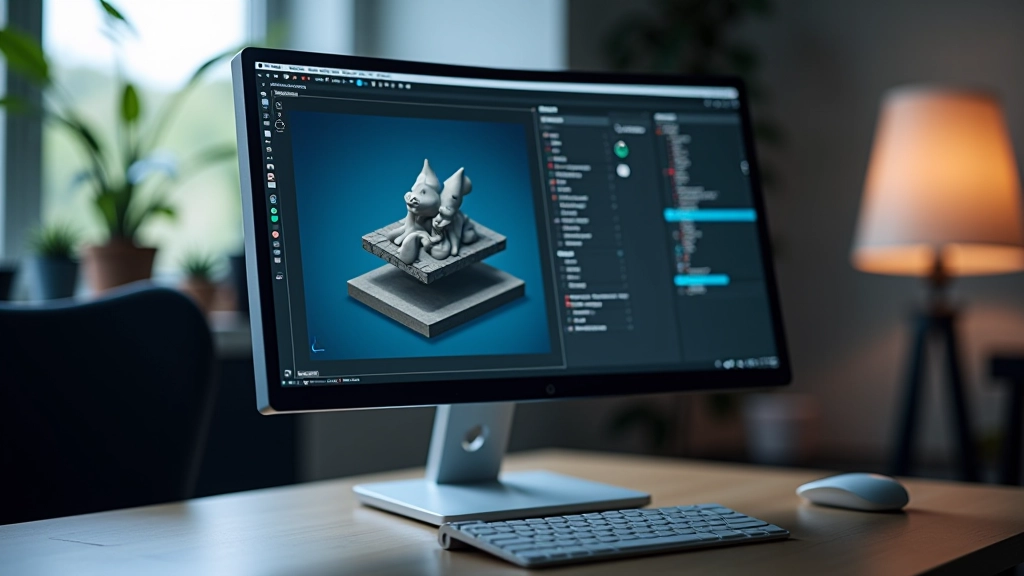
Find a 3D model online — maybe a free sword from Sketchfab. You’ll get a file like “sword.fbx” or “sword.obj”. These are 3D file formats that engines understand.
Drag that file into your project folder. The engine automatically processes it. You’ll see it in your asset library within seconds. No configuration needed for basic imports.
Drag the sword from your asset library into your scene viewport. It appears in your world. You can rotate it, scale it, position it. All through simple mouse controls.
Hit play. Your sword sits in the world. Maybe you want it to rotate slowly or respond to player input. You’ll write scripts for that. But the asset pipeline — that’s done.
You’ll import an asset and it’ll be microscopic or gigantic. That’s because the scale doesn’t match. Unity measures in meters by default. Your 3D model might be in centimeters. Easy fix — just adjust the scale in the inspector. Don’t panic.
Another thing: you’ll create something in the scene, get excited, then close the editor without saving. Your work vanishes. Always save. Use Ctrl+S (or Cmd+S on Mac) every five minutes. Make it a habit. Better yet, use version control like Git if you’re serious about this.
The last one we see constantly — trying to understand every menu before touching anything. Don’t. Open the editor. Break things. Reset. Try again. That’s how you learn faster than any tutorial.
This guide covers foundational concepts for learning game engine fundamentals. Engine versions update frequently, and interface layouts may differ slightly between releases. Always consult the official documentation for your specific engine version. Game development requires practice — these guidelines provide a starting point, not a complete curriculum. Your learning pace will vary based on experience and time investment.
That’s it. You don’t need to understand shaders, physics, or networking yet. You need to understand that engines are tools for placing objects in virtual spaces and making them interactive. Everything else builds from there.
Download an engine today. Create a scene. Import an asset. Play around. You’ll figure out more in one hour of experimentation than in five hours of watching tutorials. The documentation exists for when you get stuck. The community exists to answer questions you can’t solve. You’ve got this.